Install Anaconda On the Linux Server
Download the Anaconda Package
Firstly, we need to get the anaconda3 package and there is some mirrors website providing the faster speed of downloading. There, we chosen the tsinghua mirror and the version of 2023.09 with x86 architecture.
1 | wget https://mirrors.tuna.tsinghua.edu.cn/anaconda/archive/Anaconda3-2023.09-0-MacOSX-x86_64.sh |
After running, we can get this package at the home directory.
Install the Package
In the linux server, we can install the anaconda package by the following command.
1 | bash Anaconda3-2023.09-0-Linux-x86_64.sh |
Running the above command we can see this welcoming page,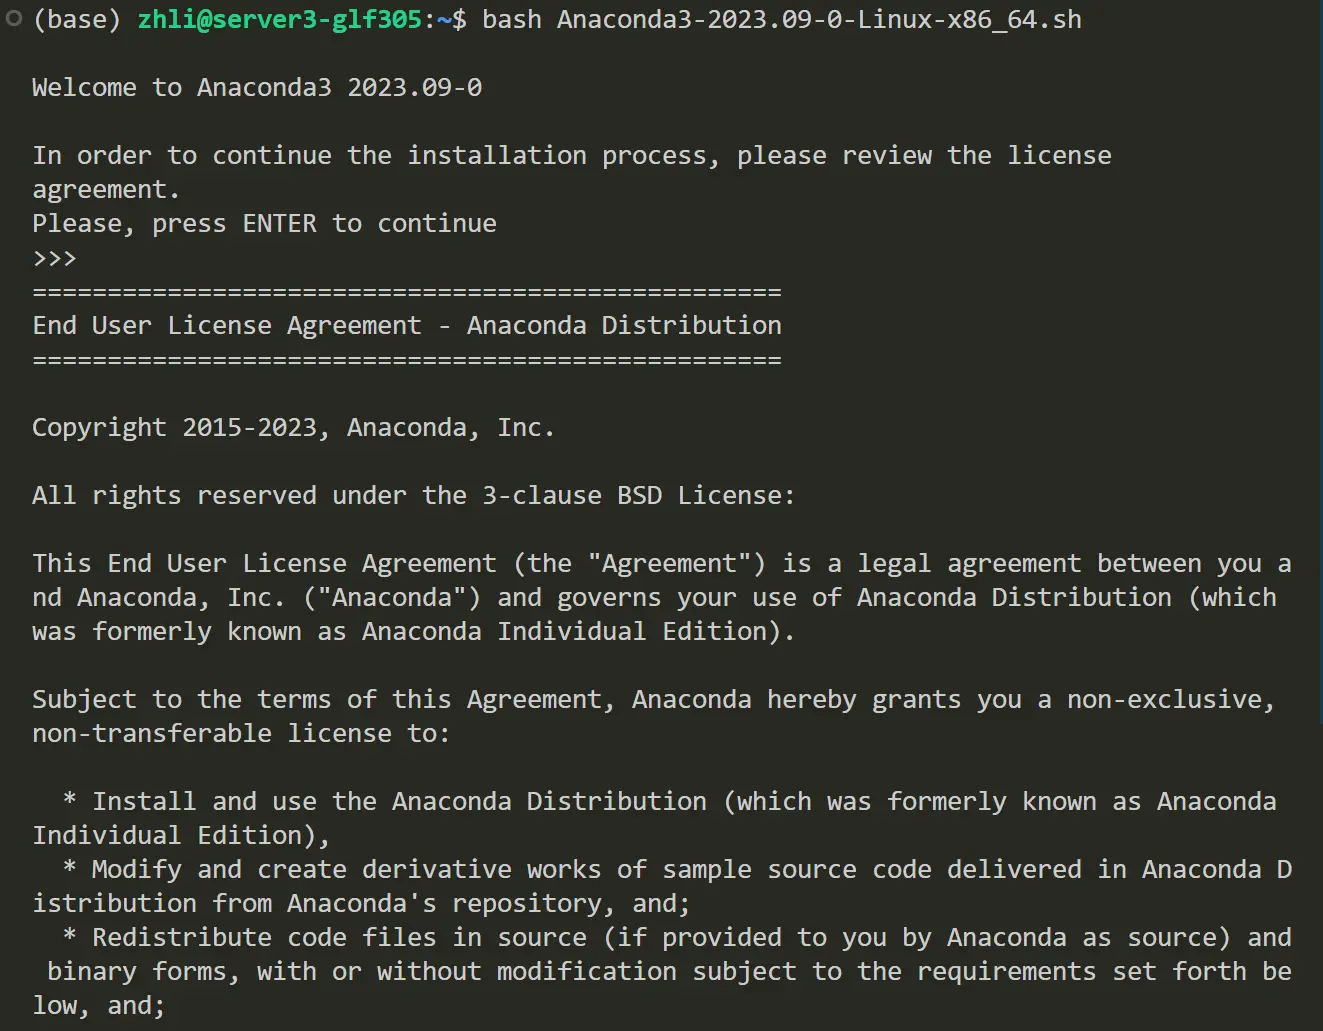
Next, we need to accept the license agreement to continue following steps.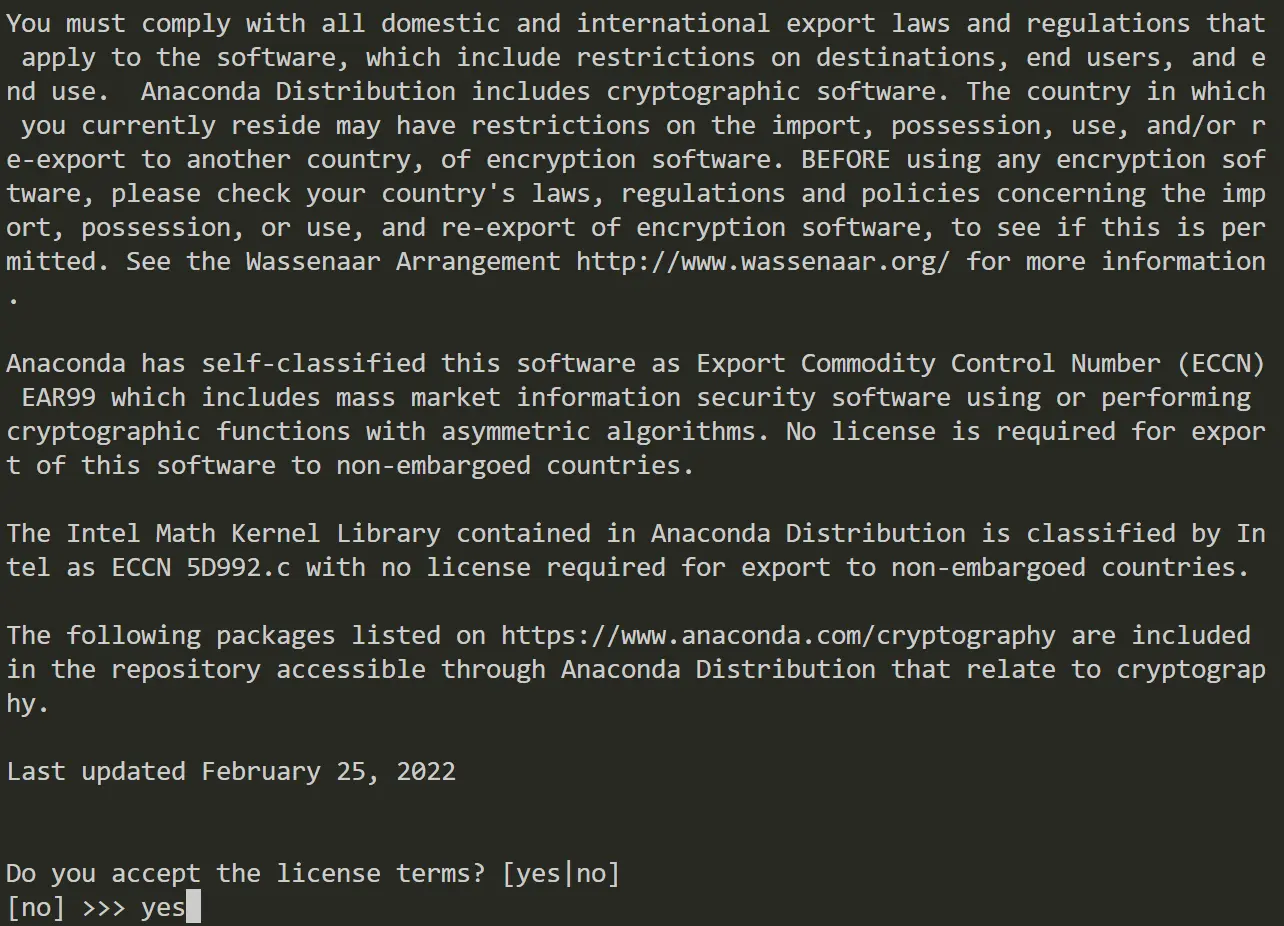
Then, we need to choose the installation path, and we can choose the default path by inputting ENTER.
Automatically initializing conda will be convenient for us. So in this step, it is recommended to input the yes for automatically activating base environment.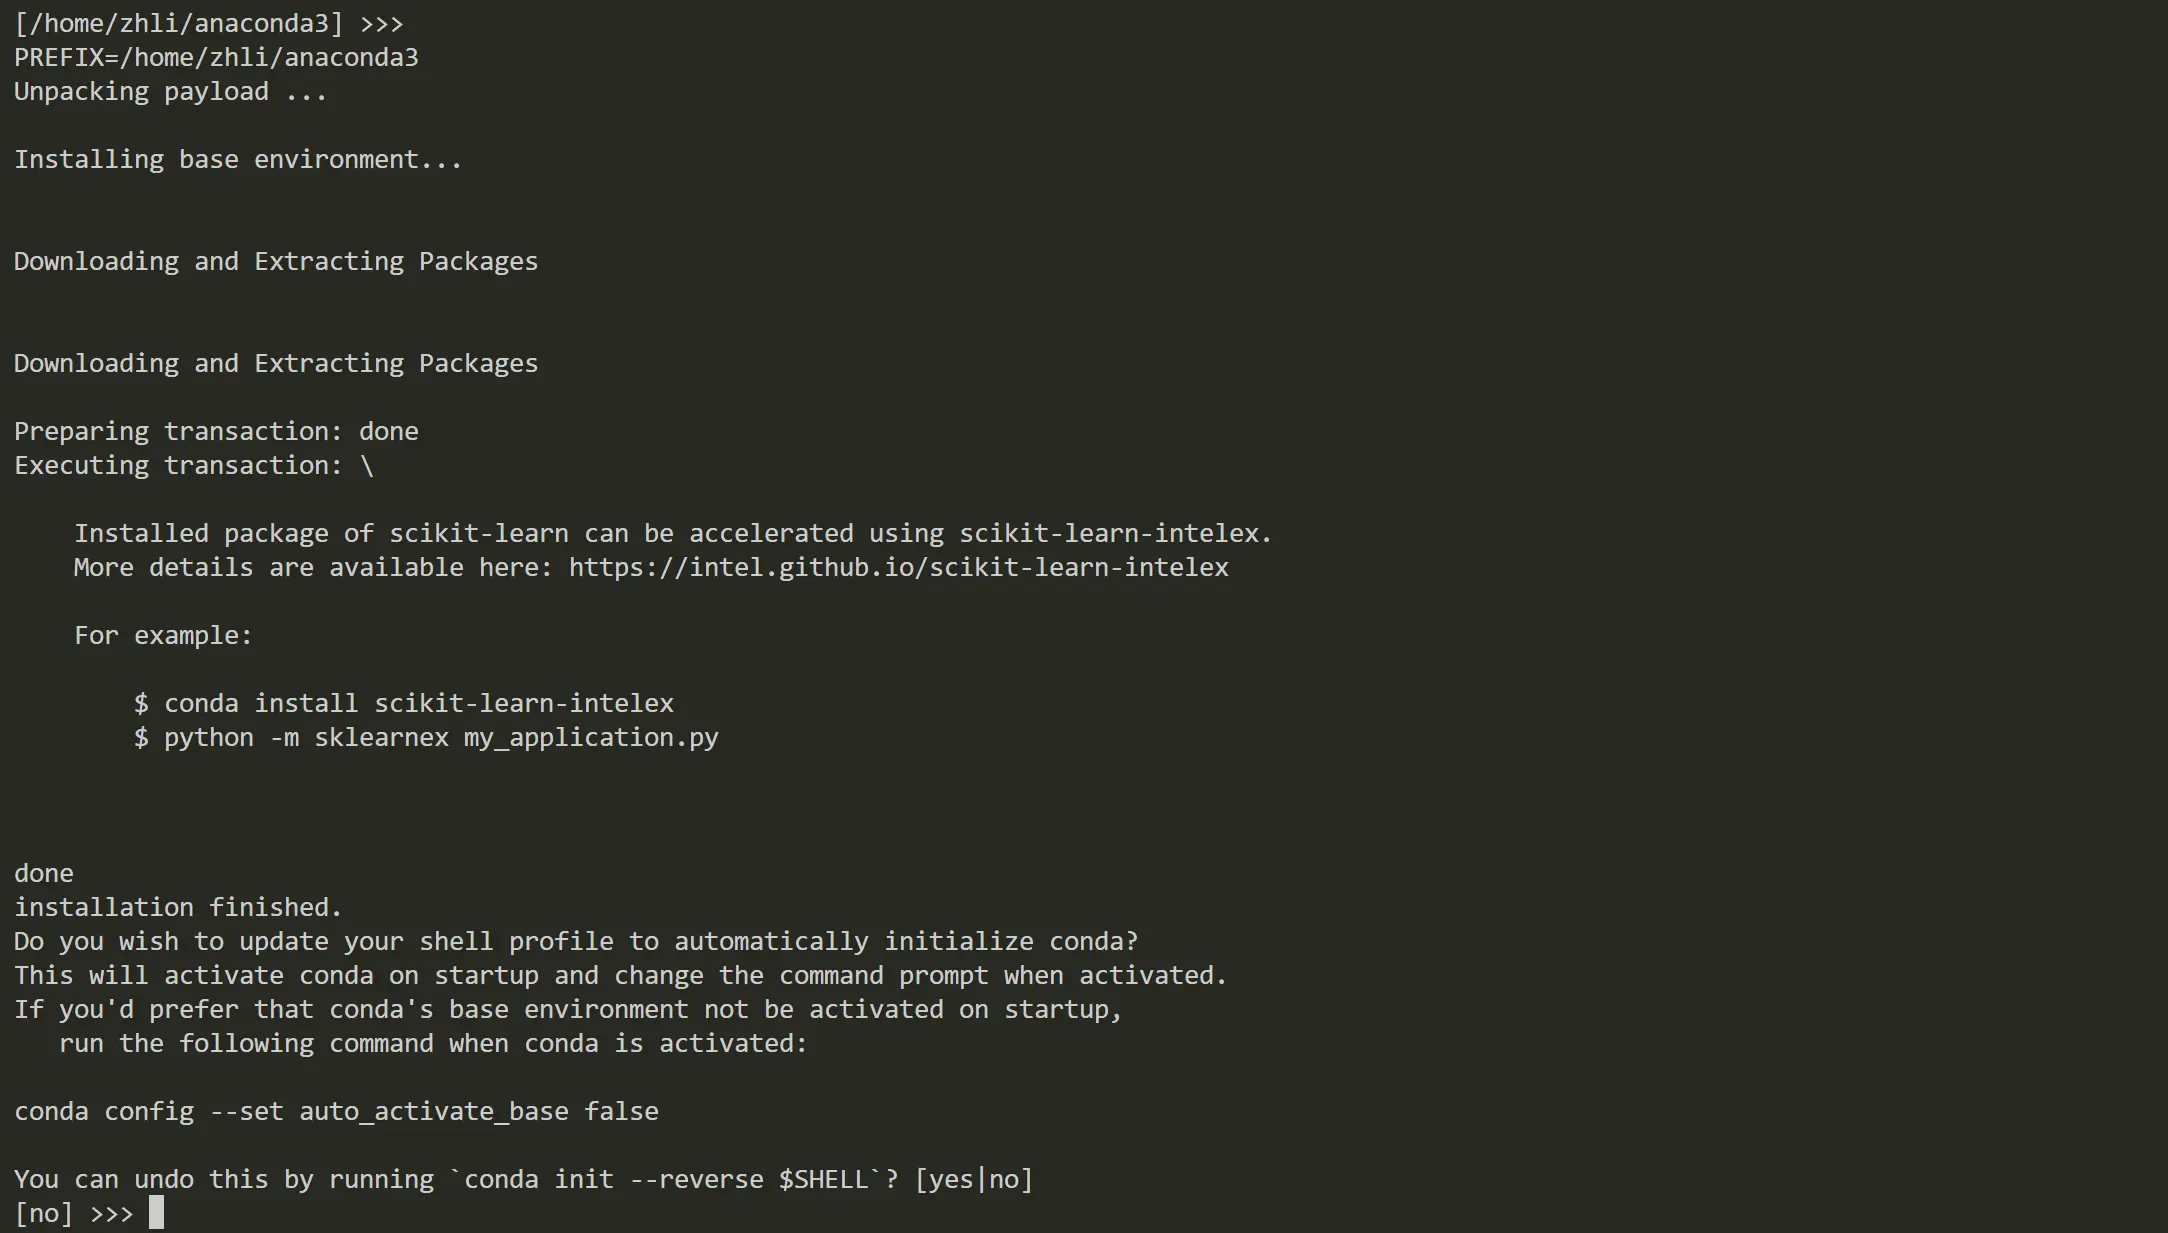
After implementing the above steps, we can successfully install the anaconda on a linux server.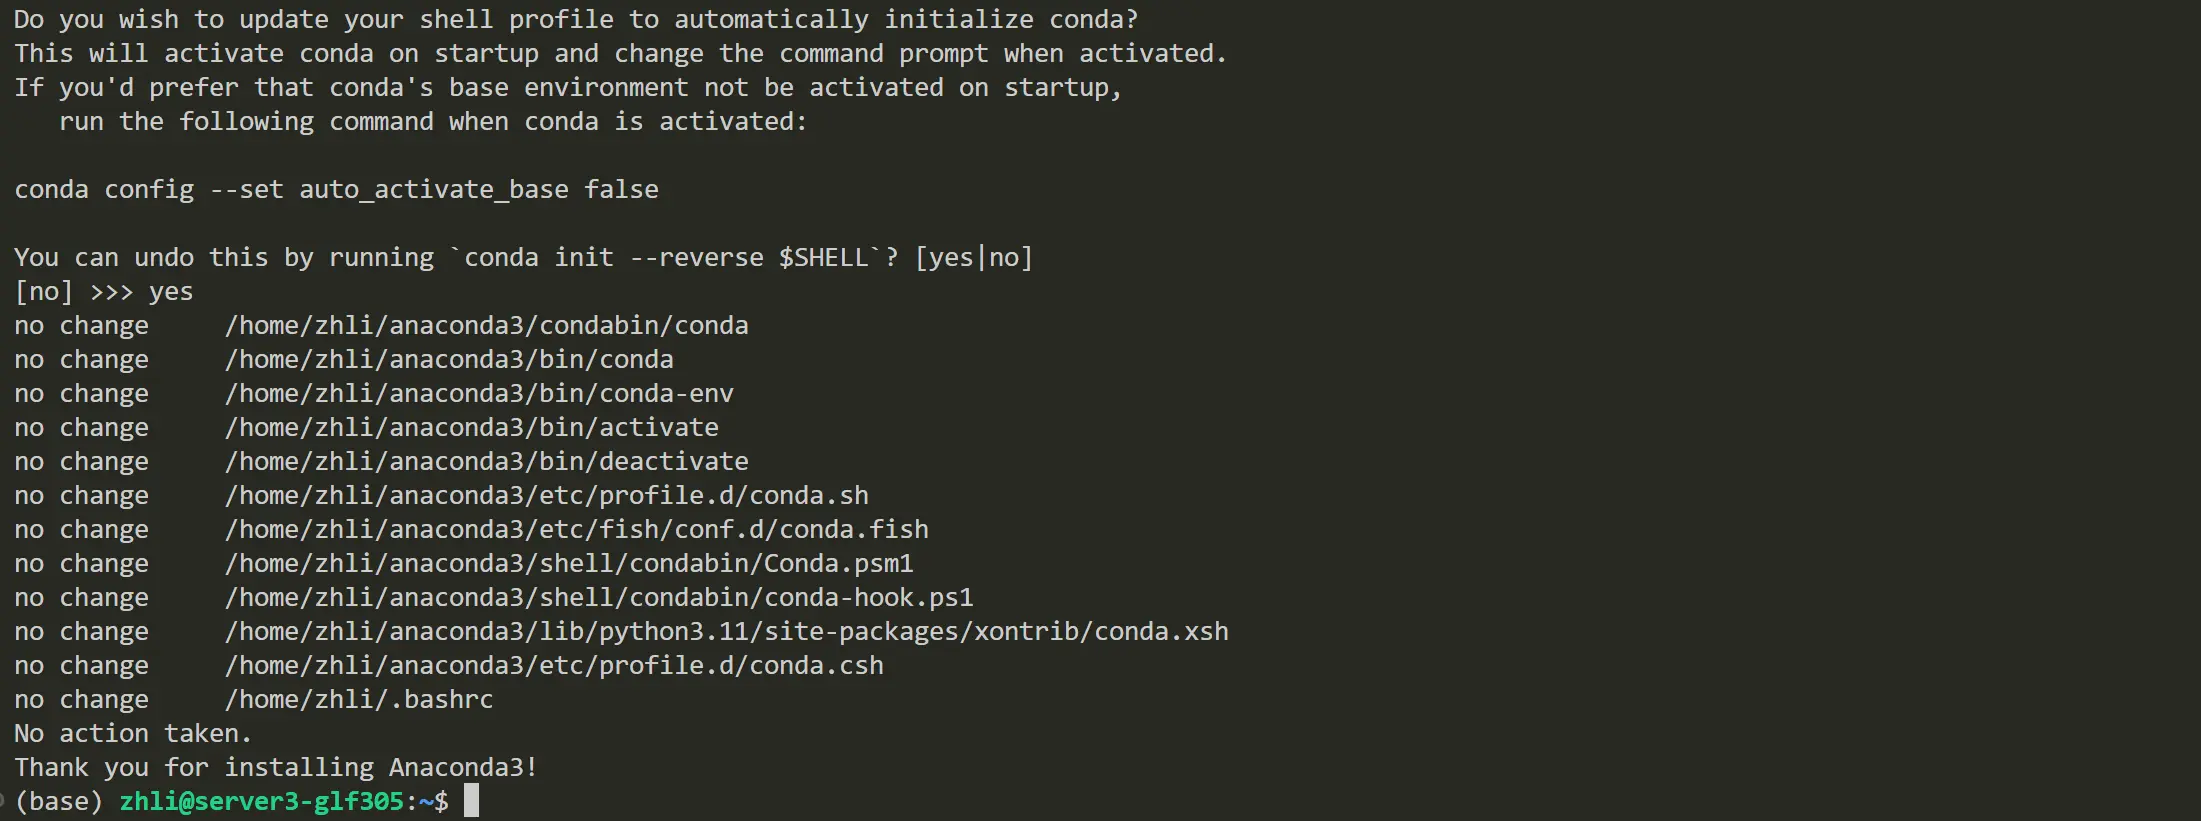
There is two ways to check whether the anaconda is installed successfully. The first one is to check the version of anaconda. The second one is to check the environment variable of anaconda.
Create the New Environment
In this section, a new conda virtual environment will be create:
1 | conda create -n LabelNoise python=3.11.5 |
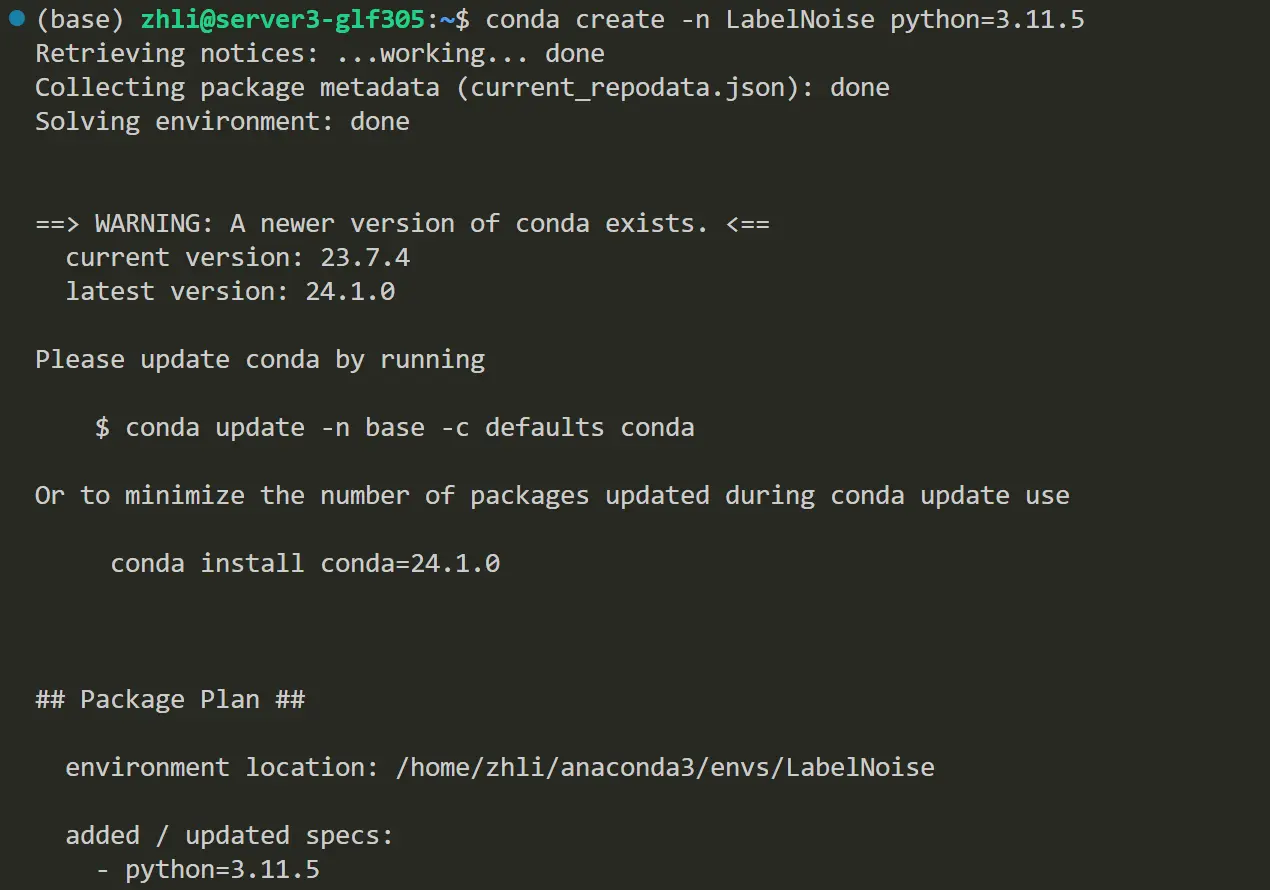
We can also specify the installation path of the new environment. For example, we can create a new environment in the path of /home/zhli/anaconda3/envs/Pytorch by the following command:
1 | conda create --prefix=/home/zhli/anaconda3/envs/Pytorch python=3.11.5 |

Activate the New Environment
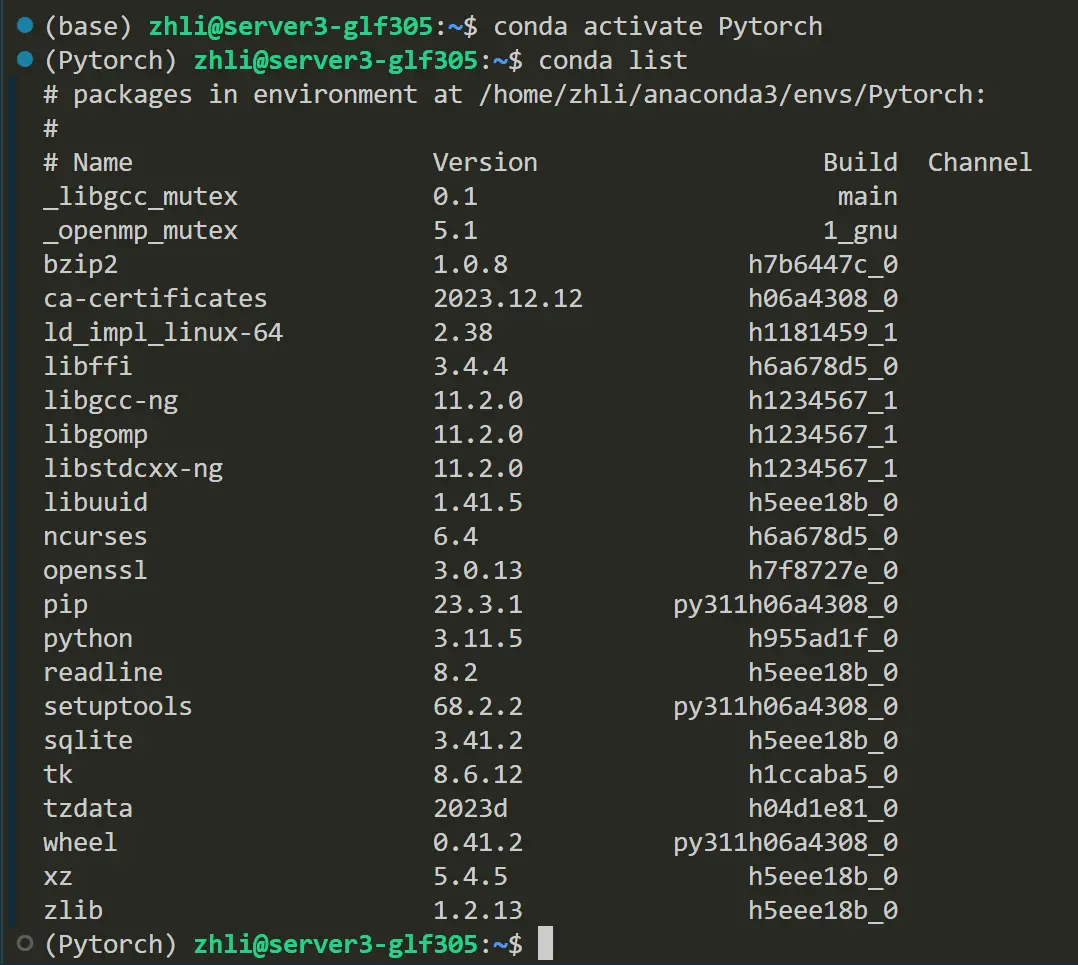
If we want use the new environment, we need to activate it first.
1 | conda activate LabelNoise |
Remove the New Environment
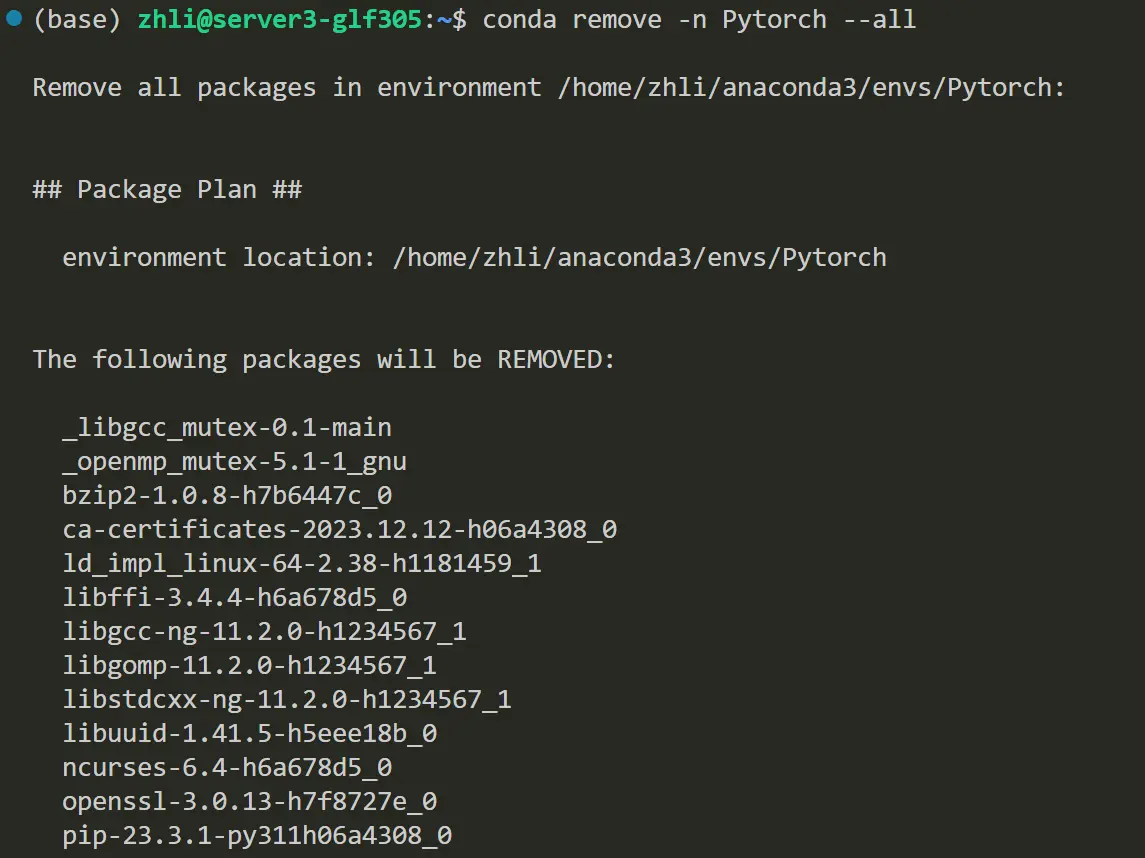
If we donn’t need the new environment any more, we can remove it by the following command:
1 | conda remove --n Pytorch --all |
Install Anaconda On the Linux Server

